Why DIY Garage Floor Paint Fails in Sacramento Summer Heat
Every summer, we get calls from Sacramento homeowners whose "weekend project" garage floor coating has peeled, bubbled, or completely failed. Here's why it happens and how to avoid wasting your time and money.
The Hot Tire Pickup Problem (And Why It's Worse Here)
I need to be honest with you: if you're reading this from anywhere outside the Central Valley, the DIY epoxy conversation is different. But in Sacramento? We get 30-40 days above 100°F every summer. Your tires hit 170°F+ after a drive to Costco. Park on a cured Rust-Oleum EpoxyShield, and watch what happens.
The heat softens the coating just enough that it bonds to your hot rubber. When you back out the next morning? It peels right off in tire-shaped strips. We call it "hot tire pickup," and it's the #1 reason we get callback jobs. Probably 60% of our work is fixing DIY failures.
The Four Reasons Your DIY Kit Failed
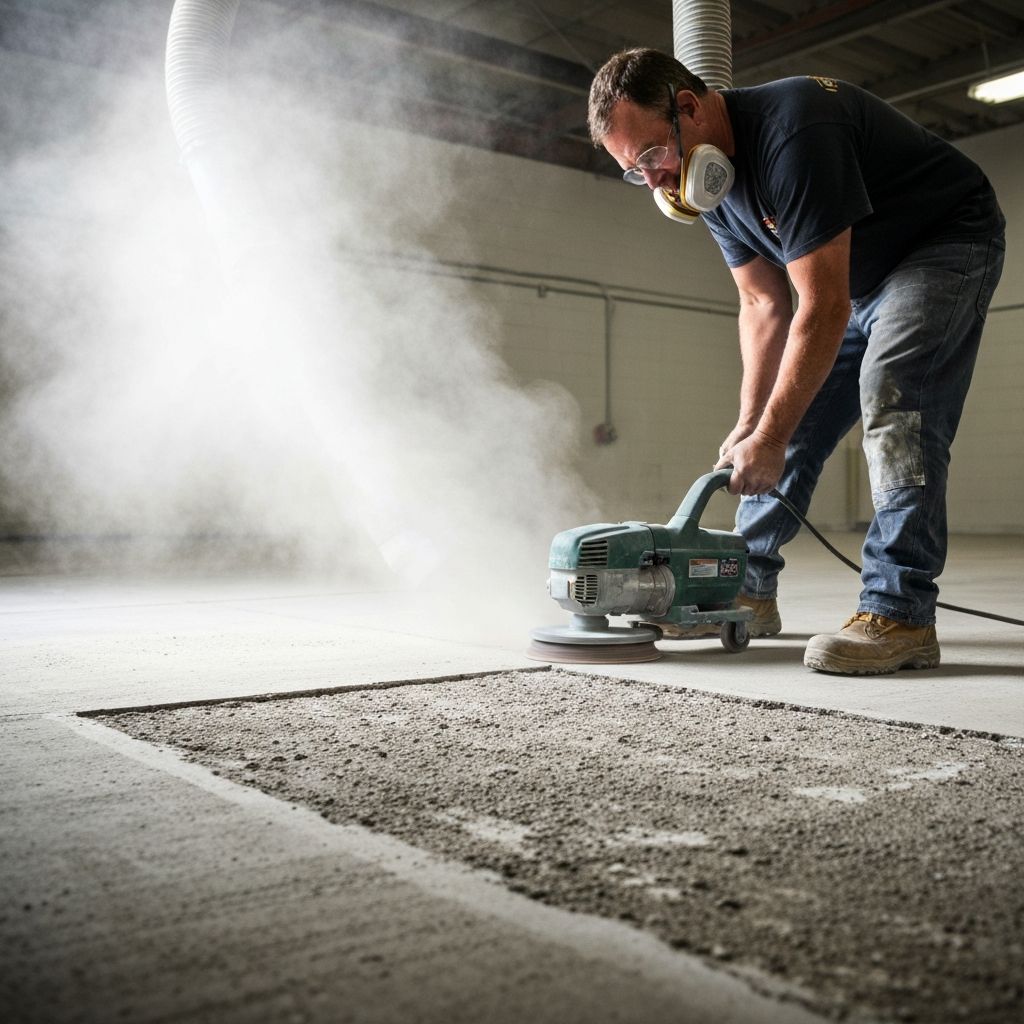
Those kits tell you to mop on some muriatic acid and call it "prep." That barely opens the pores. Professional diamond grinding removes the weak laitance layer and creates a CSP-2 or CSP-3 profile - actual mechanical "teeth" for the coating to grab. It's the difference between duct-taping two surfaces together versus welding them.
Hardware store "epoxy" is typically 40-50% solids (the rest is water or solvent that evaporates). You're left with 2-3 mils of actual coating. We apply 100% solids epoxy at 8-12 mils per coat, then 3-4 mils of polyaspartic topcoat. That's 5-6x the protection.
Concrete breathes. Moisture vapor migrates up through your slab constantly. If you're above 3-4 lbs per 1,000 sq ft (ASTM F1869 test), that vapor pressure will blow your coating right off from underneath. We test every slab. The DIY instructions? "Make sure concrete is dry." Helpful.
Basic epoxy yellows in sunlight and softens in heat. That's just chemistry - the amine hardeners are UV-sensitive. Without a polyaspartic or aliphatic urethane topcoat, Sacramento sun and hot tires will destroy it. Most DIY kits don't include a separate topcoat at all.
What Actually Survives a Sacramento Summer
After 10+ years coating floors in this valley, here's the system that holds up:
We use planetary grinders with diamond tooling to achieve CSP-3 (think medium sandpaper texture). This isn't optional, and it can't be shortcut with acid.
No water, no solvents - every drop stays on your floor. We typically apply two coats with chip/flake broadcast for the classic look.
This is the secret sauce for Sacramento. Polyaspartic stays hard at 200°F+ and doesn't yellow in direct sun. It's what separates a 2-year failure from a 20-year floor.
The Real Math on DIY "Savings"
Let's run the numbers on a typical 2-car garage (450 sq ft):
- DIY Kit + Extra Supplies: $350-500
- Renting a Floor Grinder (if you even bother): $150-200/day
- Your Time: Full weekend prep, full weekend coating
- Failure + Stripping Cost: $600-1,000 (we charge by sq ft to remove failed coatings)
- Professional Install After Failure: $2,000-3,500
So you either spend $350 and pray, or $350 + $800 strip + $2,500 pro install = $3,650. Versus just doing it right the first time for $2,200-2,800.
I'm not saying this to scare you into calling us. I'm saying it because I strip 3-4 DIY floors every month and it's genuinely painful to watch people waste money. Check our cost guide if you want real numbers on professional installation.
When DIY Actually Makes Sense
I'll give you the honest take: if you have a detached shop that never sees car tires, gets no direct sunlight, and you genuinely don't care if it fails in 3 years? Go for it. For storage sheds, workshops, basement hobby areas - sure, a $200 kit can work.
But for a garage where you park hot vehicles in a Sacramento summer? Save yourself the headache.